
Some links in this article are affiliate links. As an Amazon Associate, rcplanediy.com earns from qualifying purchases at no extra cost to you.
Painting an RC plane is where a lot of builds go to die. Not in the air — on the bench. You spend three weekends getting the airframe straight, then one can of the wrong spray paint turns your foam fuselage into something that looks like a melted candle. I’ve done it. Most of us have. The smell of dissolving EPS is one you don’t forget.
The good news is that finishing isn’t hard once you know which products play nice with which material. Balsa is forgiving and takes almost anything once it’s sealed. Foam (EPS, EPO, EPP, Depron, foamboard) is the diva — anything with solvents in it will eat it alive, so you stick to water-based products and you’ll be fine. That one rule covers 80% of the drama.
This guide covers paint-and-finish builds. If you’d rather iron on a heat-shrink film on a balsa frame, that’s a different job, and I’ve covered it in the covering film guide. Lots of builders mix both, by the way — film on the wings, paint on the fuselage and cowl. No rules at the bench.
Finishing Kit Inventory
Everything in this guide, in the order you’d use it. The “Foam-safe?” column is the one that matters most, so I put it front and center.
| Stage | Item | Foam-safe? | What It Does |
|---|---|---|---|
| 1. Prep & Fill | DAP Plastic Wood Latex Filler | Balsa only | Fills dings, gaps and grain before paint |
| 1. Prep & Fill | 3M Softback Sanding Sponge (Fine) | Yes | Smooths curves without flat spots |
| 2. Seal & Prime | Mod Podge Matte | Yes | Seals foam, glues on tissue for a tough skin |
| 2. Seal & Prime | Vallejo Surface Primer (Light Ghost Grey) | Yes | Airbrush primer, water-based |
| 3. Color | Vallejo Model Air Basic Colors (8) | Yes | Pre-thinned airbrush acrylics |
| 3. Color | Createx Opaque Colors Kit | Yes | Bigger bottles for bigger airframes |
| 4. Apply & Mask | Master Airbrush Cool Runner II Kit | n/a | Compressor + 3 airbrushes, all-in-one start |
| 4. Apply & Mask | Master Airbrush G233 Pro Set | n/a | Airbrush only, 3 nozzle sizes |
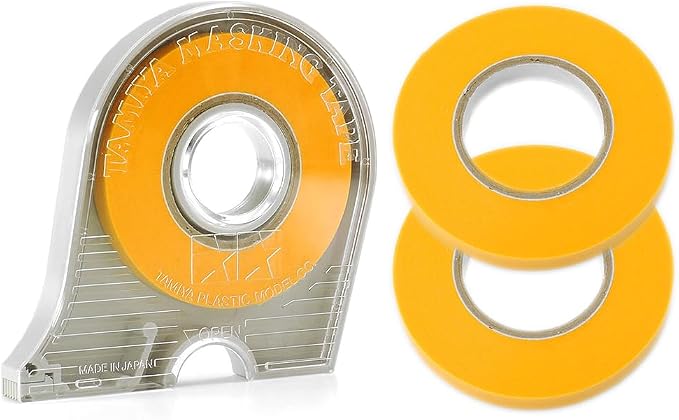
| 4. Apply & Mask | Tamiya Masking Tape 6/10/18mm Set | Yes | Sharp paint lines, low tack |
| 4. Apply & Mask | Tamiya 6mm Tape + 2 Refills | Yes | Stripes and panel lines |
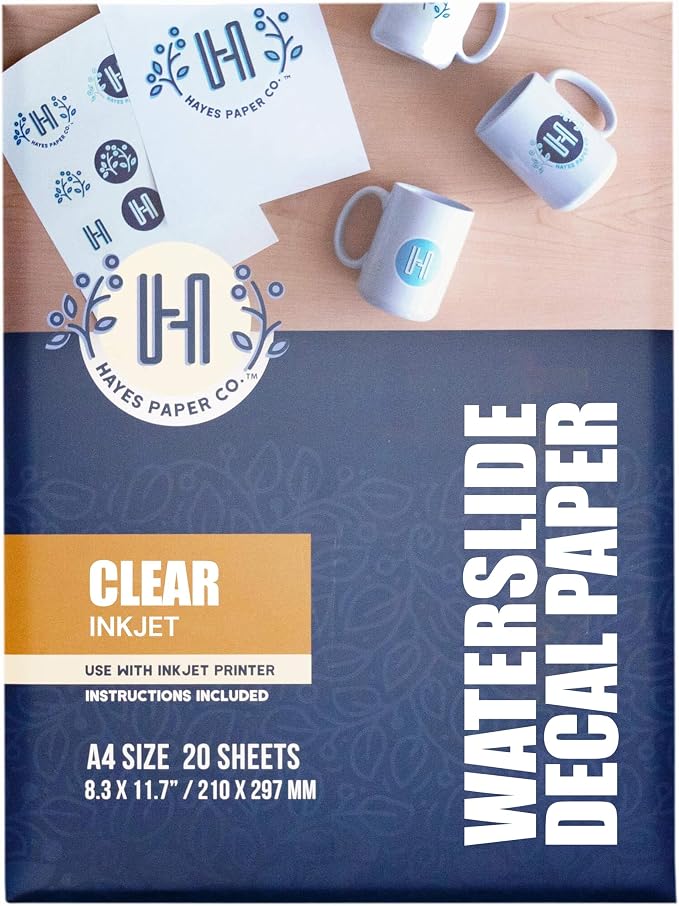
| 5. Markings & Clear | Hayes Clear Waterslide Decal Paper (A4) | Yes | Print your own markings |
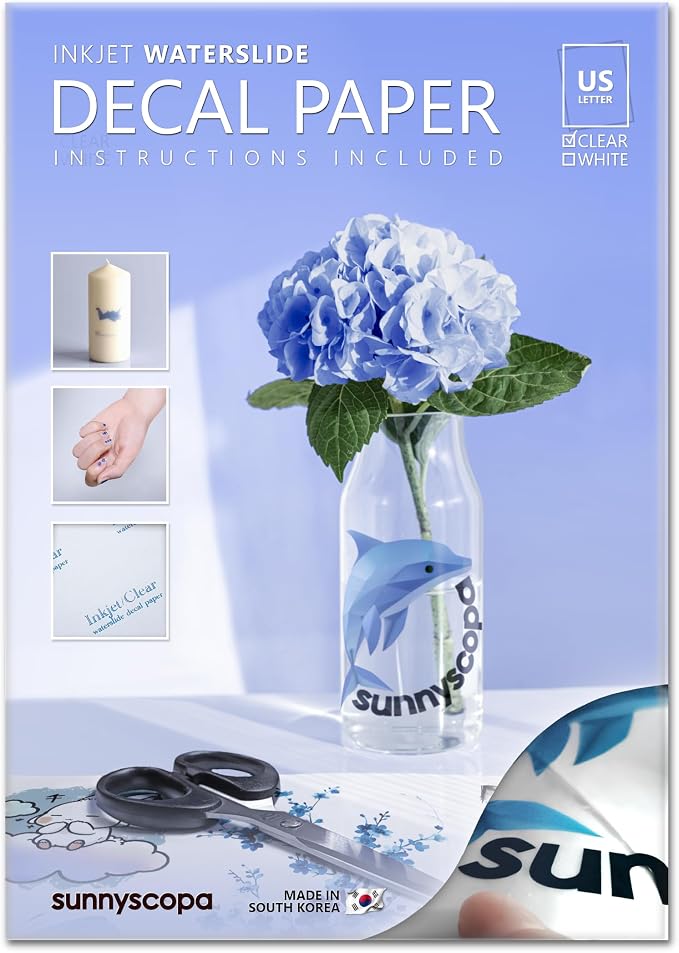
| 5. Markings & Clear | Sunnyscopa Clear Waterslide Decal Paper (Letter) | Yes | Same job, US Letter size |
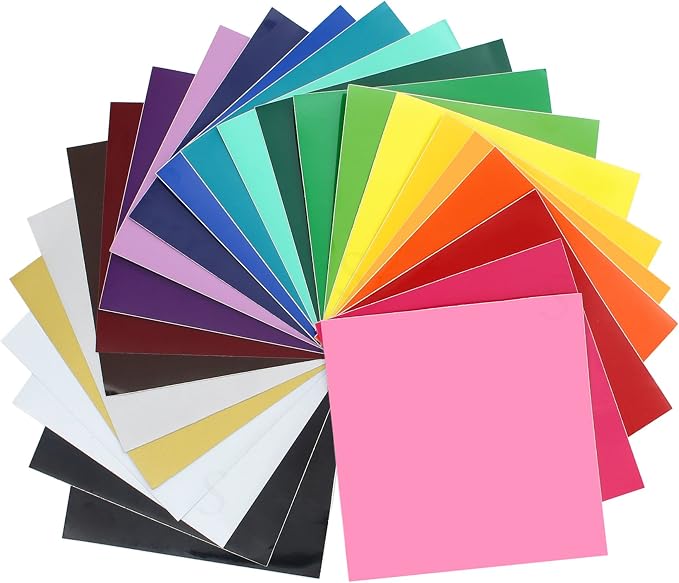
| 5. Markings & Clear | ORACAL 651 Glossy Vinyl (24 colors) | Yes | Cut vinyl stripes, numbers, roundels |
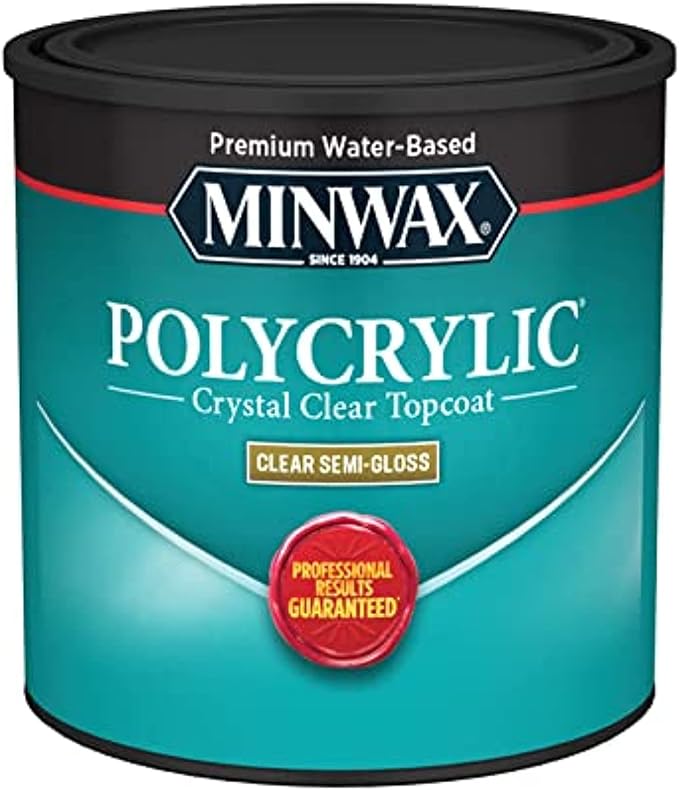
| 5. Markings & Clear | Minwax Polycrylic Clear | Yes | Water-based clear coat over everything |
The Five Finishing Stages, Explained
1. Prep & fill. Paint shows every flaw underneath it, and then magnifies it. Fill the dents, sand the joints, get the surface smooth. This is 70% of a good finish and 0% of the fun. Balsa gets filler; foam mostly just gets a light sand and a wipe.
2. Seal & prime. Bare balsa soaks up paint like a sponge and raises the grain. Bare foam has open pores and zero toughness. A sealer closes it all up, and a primer gives the color something even to grip. On foam this step also adds a thin protective skin, which helps with hangar rash.
3. Color. Water-based acrylics are the default for RC because they’re foam-safe, light, clean up with water and don’t stink up the house. You can brush them for small parts, but for a whole airframe an airbrush is lighter and much smoother.
4. Apply & mask. The tools that put paint where you want it — and keep it off where you don’t. An airbrush kit and good masking tape. Cheap tape is the #1 cause of fuzzy lines and lifted paint.
5. Markings & clear coat. Decals, vinyl lettering and roundels, then an optional water-based clear coat to lock it all down and even out the sheen. Skip the clear on light foamies if weight matters — every gram counts on a 600mm park flyer.
What to Actually Look For in RC Paint & Finishing Supplies
Foam-safe means water-based. Full stop. Most rattle-can spray paints, lacquers and enamels use solvents that dissolve polystyrene foam. Don’t trust a “safe for plastic” label — plastic isn’t foam. If in doubt, test on a scrap piece of the same foam and wait 24 hours. Some damage shows up slowly.
Weight is the hidden cost. A thick paint job can add 20-50 grams to a small foamie, and that ends up in wing loading and a hotter landing. Thin coats, airbrushed, beat one thick brushed coat every time. Hide the airframe color with a primer close to your final color so you need fewer color coats.
Flexibility matters on foam. Foam flexes. Hard, brittle finishes crack and flake off. Acrylic paints and water-based sealers stay flexible enough to move with the airframe.
Buy the masking tape you’ll actually use. Low-tack hobby tape costs more per meter than hardware-store masking tape, but it doesn’t pull paint off or leave glue, and it bends around curves. Painter’s tape from the hardware store is OK for covering big areas, not for edges.
Planning a scheme before you paint? Our free RC Wing Designer tool exports your wing outline to PDF and SVG, which is handy for laying out stripes and roundels on paper first.
Stage 1: Prep & Fill
DAP Plastic Wood All Purpose Latex Wood Filler
A latex (water-based) filler that dries hard but still sands easily, which is exactly what you want on balsa. Fill the gaps at the wing root, the dings from dropping a sanding block on the leading edge (guilty), and the little gaps around formers. It sands, takes paint and doesn’t shrink much.
My gripe: it’s not a lightweight filler. On a big balsa sport plane it’s fine. On a small, light build, go easy — fill thin, sand back, repeat, instead of one big blob. And keep it off foam; it’s not that it will dissolve it, it just won’t sand flush with soft foam and you’ll end up with bumps. The 6oz tub dries out if you leave the lid loose, which I always do.
Specs: 6 oz tub, latex-based, white, sandable, paintable, shrink and crack resistant
Best for: Filling gaps and dents on balsa and plywood airframes before primer
Builder feedback: Easy to sand and paint over is the most common comment; some wish it came in a lighter formula.

3M Softback Sanding Sponge, Fine Grit
The single most useful sanding thing I own for finishing work. It’s a thin foam-backed sanding pad that bends around a fuselage curve or a wing leading edge without digging flat spots into it — which a hard sanding block absolutely will. Fine grit is right for sanding filler and knocking down primer between coats.
It’s 3M, so the abrasive lasts. It can be used wet, which is handy between primer coats. Downside: on soft balsa it’ll still take material off faster than you think, so light pressure. This listing is a 20-pack, which sounds like a lot until you realize how fast a sponge loads up with primer dust. For shaping big stuff you want a proper block — the rotary tools guide covers the power side.
Specs: 4.5″ x 5.5″, fine grit aluminum oxide, flexible foam backing, wet or dry use
Best for: Smoothing filler, curves and primer between coats on balsa and foam
Builder feedback: People love how it follows curves; the only complaint is it wears out eventually, as sandpaper does.

Stage 2: Seal & Prime
Mod Podge Matte Sealer, Glue & Finish
Yes, the craft-store decoupage stuff. It’s been an open secret in the foam RC world for years, especially among the foamboard scratch-build crowd. It’s water-based, so it won’t hurt foam. Brush a thin coat to seal foam before painting, or use it to glue on a layer of tissue paper — “paper-skinning” — which makes a foam fuselage surprisingly tough against dents.
It’s not a miracle. It adds weight if you glop it on, it can stay a bit tacky in humid weather, and the matte finish isn’t for everyone (the gloss version exists too). But for foamies it’s the cheapest way to go from “fragile and soft” to “survives a hard landing”. Thin coats, let each one dry properly.
Specs: Water-based sealer, glue and finish, clear matte, quick dry, soap and water cleanup
Best for: Sealing foam before paint and applying tissue skins to foam airframes
Builder feedback: Consistently loved for being versatile and easy to clean up; a few mention some tackiness in humid conditions.

Vallejo Surface Primer, USN Light Ghost Grey (200ml)
Vallejo is the big name in water-based model paints, and their Surface Primer is an acrylic-polyurethane primer made for airbrushing straight from the bottle. It’s foam-safe, it dries fast and it gets hard. On sealed balsa and on foam, it gives you an even base that makes the color coats go on thinner — which saves weight.
Light Ghost Grey is a great neutral for most color schemes, and it’s the actual color of a lot of modern jets, so on an EDF jet you could stop here. Downsides: it’s airbrush-first, so brushing it is so-so. And it’s not a filling primer — it won’t hide sanding scratches the way a thick automotive filler primer would. Prep properly first.
Specs: 200ml (6.76 fl oz), water-based acrylic-polyurethane primer, matte finish, airbrush-ready, fast drying
Best for: Priming foam and sealed balsa before airbrushing color
Builder feedback: Praised for smooth, thin coverage straight out of the bottle; brush users are less enthusiastic.

Stage 3: Color — Foam-Safe Paints
Vallejo Model Air Basic Colors Set (8 x 17ml)
If you’re new to airbrushing and want colors that just work, start here. Model Air is pre-thinned for the airbrush, so no fiddling with ratios. The basic set gives you white, yellow, red, blue, green, black and a couple more — enough to mix most schemes, and all foam-safe.
The obvious catch: 17ml bottles. That’s plenty for trim, canopies, cowls and small foamies, but painting a whole 1.2m wing in one color will empty a bottle fast. For large areas look at the Createx below. Also, Vallejo’s dropper bottles sometimes clog at the tip — a toothpick sorts it. Could be better, but it’s a small thing.
Specs: 8 bottles x 17ml (0.57 fl oz), pre-thinned water-based acrylic, airbrush-ready, also brushable
Best for: Detailing, trim colors and small foam airframes
Builder feedback: Very popular for being airbrush-ready with no thinning; many wish the bottles were bigger.

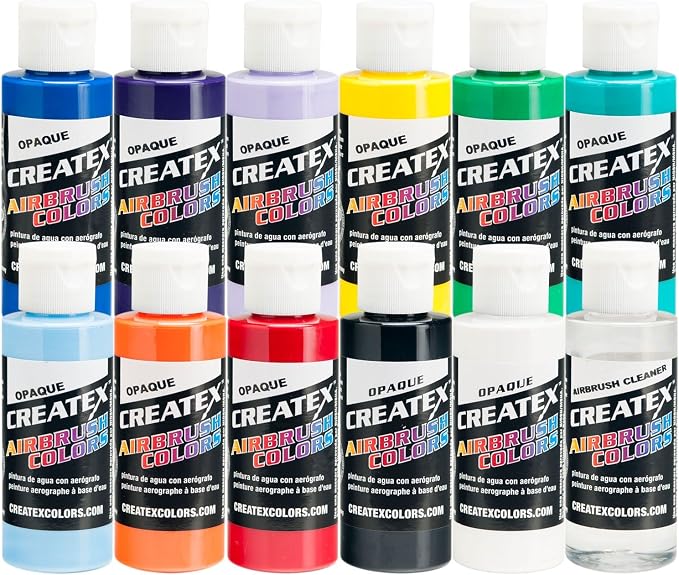
Createx Airbrush Colors Opaque Kit (2oz bottles)
Createx is the go-to for bigger jobs: t-shirt airbrushers, custom car guys, and a lot of RC painters. The 2oz bottles hold much more than hobby-size bottles, and the opaque colors cover in 2-3 coats, which is what you want when you’re going from a white primer to a dark blue wing. Water-based and foam-safe.
Not quite as fine as Vallejo for tiny details, and depending on your airbrush you may need to thin it a bit with Createx reducer for a smooth spray. Also: stock on this kit runs low sometimes, so if it’s showing short, Createx sells the same colors individually. Solid, no-nonsense paint.
Specs: Kit of 2oz bottles, opaque water-based airbrush colors, covers in 2-3 coats, usable on wood, paper, canvas and more
Best for: Large surfaces on bigger foam and balsa airframes
Builder feedback: Great coverage and color brightness; some users thin it for finer airbrushes.
Stage 4: Apply & Mask
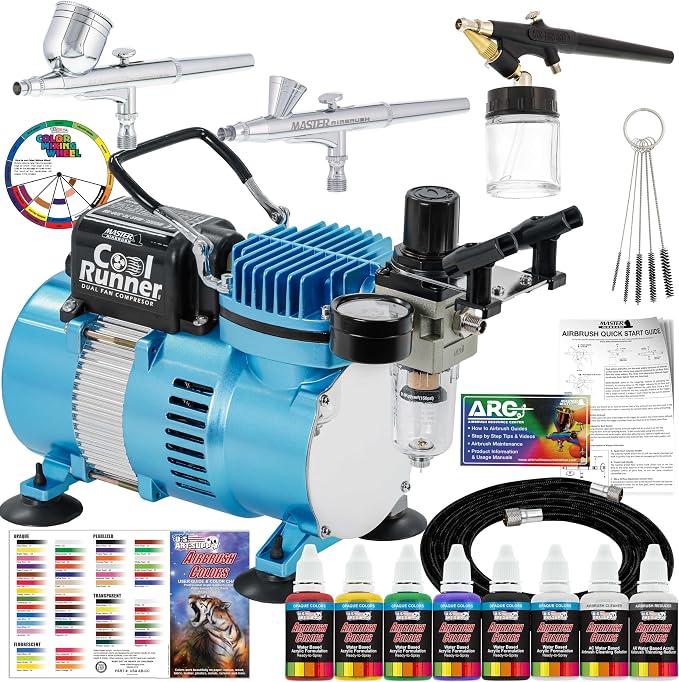
Master Airbrush Cool Runner II Airbrush Kit
If you don’t own an airbrush yet, this is the classic “everything in one box” starter. You get a compressor with two cooling fans (so it can run longer without overheating), three different airbrushes and a starter set of paint. Master Airbrush has been the entry-level brand for years, and this kit is a good match for RC work: one airbrush for big areas, one for detail.
Being honest, the airbrushes are entry-level. They work, but they’re not Iwata-smooth, and the included paints are basic. The compressor is also on the loud side — not garage-door loud, but you’ll hear it through the wall. For the money it gets you painting, and you can upgrade the airbrush later and keep the compressor.
Specs: 1/5 hp single-piston compressor with dual cooling fans, 3 airbrushes (including G22 dual-action 0.3mm gravity feed and G25), starter acrylic paint set
Best for: First-time airbrushers who need the full setup
Builder feedback: Popular as a complete starter; the most common gripe is compressor noise.
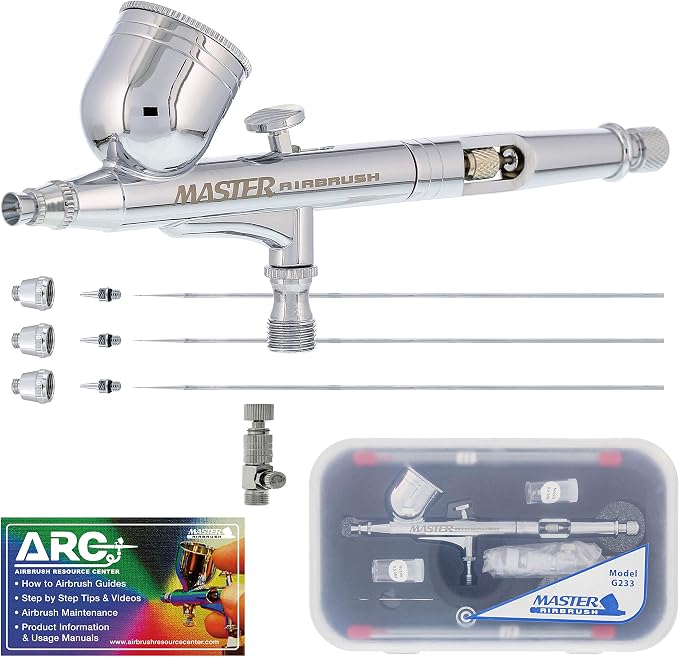
Master Airbrush G233 Pro Set
Already have a compressor (or a small shop compressor with a regulator)? Then just get the airbrush. The G233 is a dual-action gravity-feed brush that comes with three nozzle sizes: 0.2mm for fine lines, 0.3mm for general work and 0.5mm for covering big areas. That 0.5mm is the one you’ll use most on an RC airframe.
Same brand caveats as above — good value, not premium. The needle is delicate; drop it once on the concrete and you’ll be ordering a new one. Clean it right after every session, especially with acrylics, which dry fast in the tip.
Specs: Dual-action gravity-feed airbrush, 0.2/0.3/0.5mm needle and nozzle sets, cutaway handle for easy cleaning
Best for: Builders who already own a compressor
Builder feedback: Well liked for versatility at an entry-level price; a few mention needle fragility.
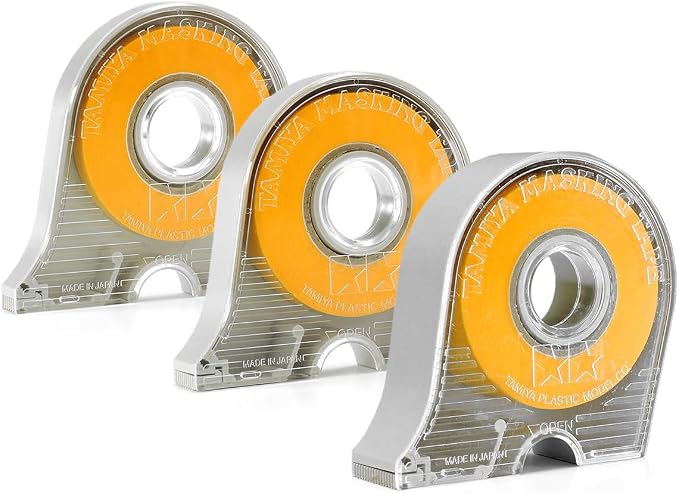
Tamiya Masking Tape with Dispensers (6mm, 10mm, 18mm)
The masking tape pretty much every scale modeler swears by, and it translates straight over to RC. It’s thin, flexible and low-tack, so it gives crisp paint lines and bends around gentle curves. It also comes off without taking your primer with it, which cheap tape absolutely will on foam.
It’s pricey per meter, no way around that, and 18mm is the widest in this set — for masking off big areas, use the Tamiya tape for the edge and cheap paper or painter’s tape to fill the middle. That’s what I do, and it stretches the roll a lot further.
Specs: 3 rolls (6mm, 10mm, 18mm) with dispensers, low-tack, flexible, made in Japan
Best for: Crisp color separations, stripes and canopy framing
Builder feedback: Close to universal praise for clean lines and no paint lift.
Tamiya 6mm Masking Tape with 2 Refills
The 6mm is the one you’ll run out of first — stripes, panel lines, canopy frames, invasion stripes on a warbird. This set gives you a dispenser plus two refills, so you’re not stuck mid-scheme. Same tape as above, just more of the size that disappears fastest.
Nothing new to complain about. Well, except that the refills disappear into the bottom of the toolbox. Mine always do.
Specs: 6mm masking tape with dispenser + 2 refill rolls, 18m length each, made in Japan
Best for: Stripes, panel lines and canopy framing on warbirds and scale models
Builder feedback: Same praise as the set — builders like having refills on hand.
Stage 5: Markings & Clear Coat
Hayes Clear Waterslide Decal Paper for Inkjet (A4, 20 sheets)
Print your own decals: squadron codes, registration numbers, logos, instrument panels, pilot names. You print on the paper with a normal inkjet printer, seal the print with a clear coat, soak it in water and slide it onto the model. It’s how most scale builders get markings for planes nobody sells decals for.
A few honest limitations. Clear decals print without white, so light colors disappear on dark paint — design around it. The printed ink must be sealed or it runs the moment it hits water. And decals are thin, so on rough foam they show every bump. On a smooth primed surface, though, they look great. A drop of dish soap in the water helps them slide into place and settle down.
Specs: 20 clear A4 sheets (8.25 x 11.7″), inkjet printers only, quick dry
Best for: Custom scale markings and small details
Builder feedback: Very widely used; the main tip from buyers is to seal the print well before soaking.
Sunnyscopa Clear Waterslide Decal Paper for Inkjet (Letter, 20 sheets)
The US Letter-size option, from a company that has been making decal paper since 1990. Works the same way as the Hayes: print, seal, soak, slide. I’d pick based on which paper size your printer handles best and which one you can actually find in stock that week.
Same limitations: no white ink, seal before soaking. Some builders find it a touch thicker, which makes it more forgiving to handle but a bit more visible at the edges. Trim close to the design.
Specs: 20 clear US Letter sheets (8.5 x 11″), inkjet printers only, made in South Korea
Best for: Custom decals for builders with US Letter printers
Builder feedback: Solid print quality reported; sealing the print is again the key tip.
ORACAL 651 Glossy Vinyl, 24 Colors (12″ x 12″ Sheets)
For anything bigger than a decal — stripes, big numbers, roundels, sunburst patterns — self-adhesive vinyl is lighter than paint and cleaner than masking. ORACAL 651 is the industry standard sign vinyl, and a lot of foamie builders use it instead of paint altogether. Cut by hand with a hobby knife, or with a Cricut/Silhouette if you have one.
It’s not perfect. Vinyl doesn’t like compound curves; it wrinkles, so keep it to flatter areas or cut it into smaller pieces. And on raw foam it can lift in the heat of a summer car trunk. Put it on primed or sealed surfaces and it stays. 24 colors is more than you’ll need, but that’s the fun part.
Specs: 24 x 12″ x 12″ sheets, glossy permanent adhesive vinyl, rated 4+ years outdoors (6+ for white/black)
Best for: Stripes, numbers, roundels and trim on foam and balsa planes
Builder feedback: Very popular for quality and color range; some note it’s tricky on tight curves.
Minwax Polycrylic Protective Finish (1/2 Pint)
A water-based clear coat from the furniture world that works nicely on models. Brush or airbrush (thinned) a thin coat over paint and decals to protect everything, even out the sheen, and hide decal edges. It’s foam-safe because it’s water-based, and it dries fast enough to recoat in about two hours.
Downsides: it’s easy to overdo — a heavy coat adds real weight and can yellow a little over white paint on thick coats. And the listing’s sheen label is a bit confusing, so check which finish you’re picking. For a light park flyer I’d skip clear coats altogether, and only use it on scale builds where the look matters.
Specs: 1/2 pint, water-based clear protective finish, fast drying (recoat in 2 hours), soap and water cleanup
Best for: Clear coating painted balsa and foam, sealing decals
Builder feedback: Liked for easy application and fast drying; a few mention slight ambering on white surfaces.
Frequently Asked Questions
What paint is safe for foam RC planes?
Water-based acrylic paint is the safe choice for EPS, EPO, EPP, Depron and foamboard. That includes hobby acrylics like Vallejo and Createx, and craft acrylics. Most solvent-based spray paints, lacquers and enamels will melt foam. Always test a new product on a scrap of the same foam first.
Can I use spray paint on a balsa RC plane?
Yes, on balsa most spray paints work well once the wood is sealed and primed. The problem is when a balsa plane has foam parts (like a foam wing core or a foam canopy base), so check what’s underneath before you spray. Also consider weight: spray cans put on thicker coats than an airbrush.
How do I keep paint from adding too much weight?
Use a primer close to your final color, spray thin coats with an airbrush instead of brushing, and only paint what needs painting. Use vinyl for stripes and markings. Skip the clear coat on small, light models. On a small foamie, the difference between a careful and a heavy paint job can be the difference between floaty and sinky.
Do I need an airbrush to paint an RC plane?
No, but it helps a lot on bigger surfaces. Small models and parts can be brushed with acrylics in thin coats. For a whole airframe, an airbrush gives a lighter, smoother finish. It’s one of those tools where after the first job you wonder how you managed without.
How do I apply waterslide decals on a foam plane?
Seal the foam and prime it first so the surface is smooth. Seal the printed decal with a clear coat, soak it in water with a drop of dish soap, slide it into place, and press out the water gently with a soft cloth. Once dry, a thin water-based clear coat over it hides the edges.
Final Thoughts
If you remember one thing from this article: water-based on foam, always. After that it’s just patience — prep properly, prime, spray thin, mask with decent tape. A modest set of Vallejo or Createx colors, a starter airbrush and a roll of Tamiya tape will take you a very long way. And when the paint job turns out great, you’ll be almost afraid to fly the thing. Almost. Fly it anyway — that’s what the repair kit is for.
Related Guides
- Best RC Airplane Covering Film & Covering Materials — the iron-on alternative to paint for balsa frames
- Best Foam for RC Airplane Building — know which foam you’re painting before you pick the paint
- Best Balsa Wood for RC Airplanes — choosing stock that sands and finishes well
- Best Glue for RC Airplanes — foam-safe adhesives follow the same rules as foam-safe paint
- Best Rotary Tools & Dremel Accessories — power sanding and shaping before the finish
- Best RC Airplane Accessories — the rest of the gear every pilot needs
- RC Wing Designer — Complete User Guide — export wing outlines for planning paint schemes